
Need to send out multiple job offers with ease (and consistency)? You can create and store multiple offer letter templates in your account, so when it’s time to extend an offer, you’re just a few clicks away from done and dusted.
Here’s how to set it all up:
Step 1: Add a New Offer Letter Template
Want to start from scratch with your own perfectly worded letter?
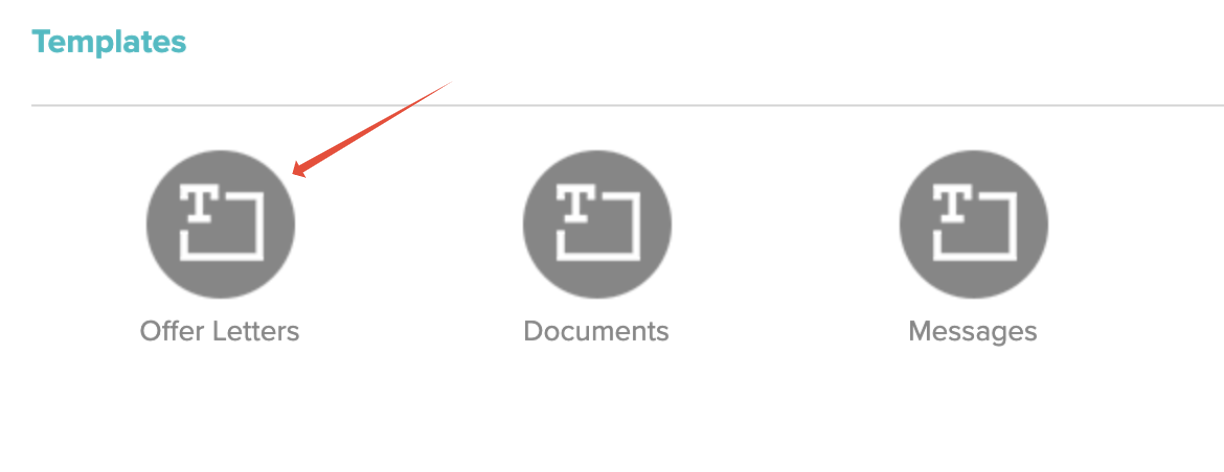
Head to Main Menu > Account Details > Templates
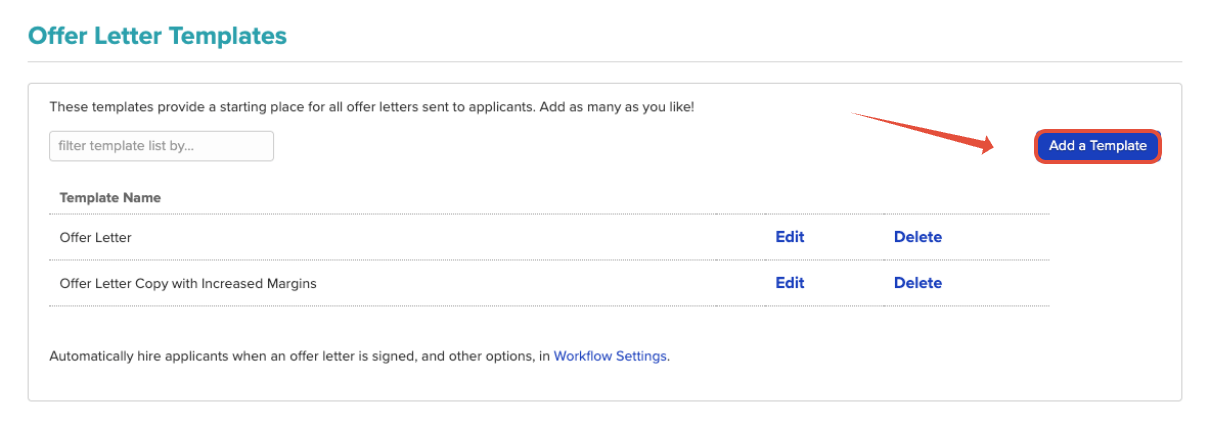
Click Add a Template
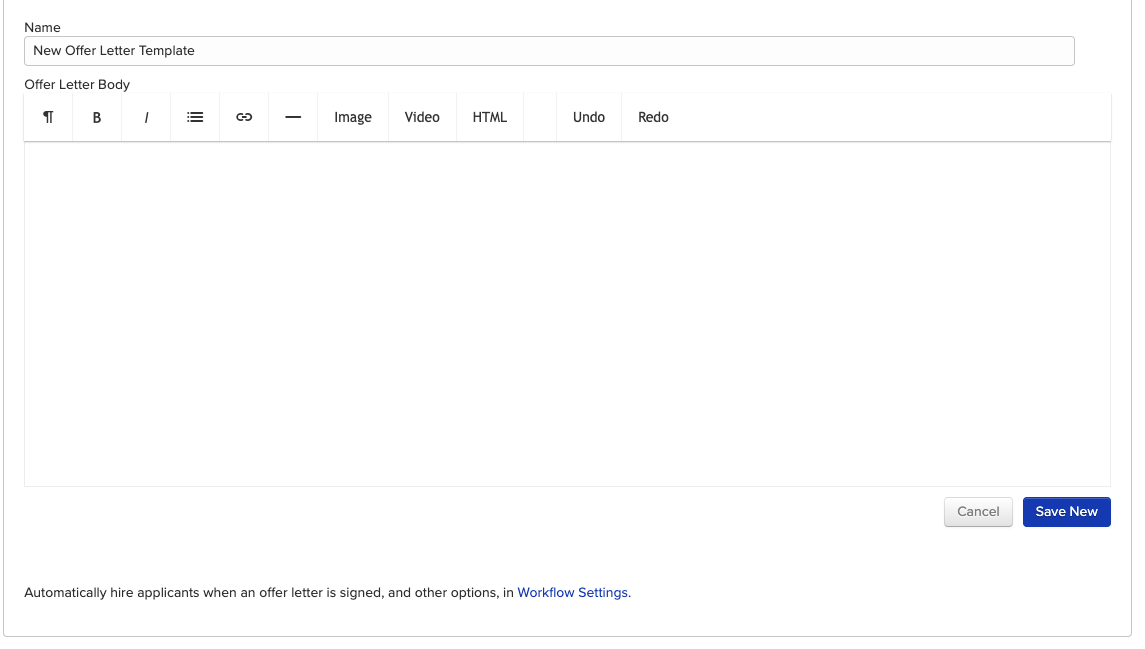
Give your template a name, then enter the body of your letter using the fields listed on the right side of the page (more on those below)
Step 2: Copy an Existing Template
Already have a template that’s almost perfect? Duplicate it and tweak as needed:
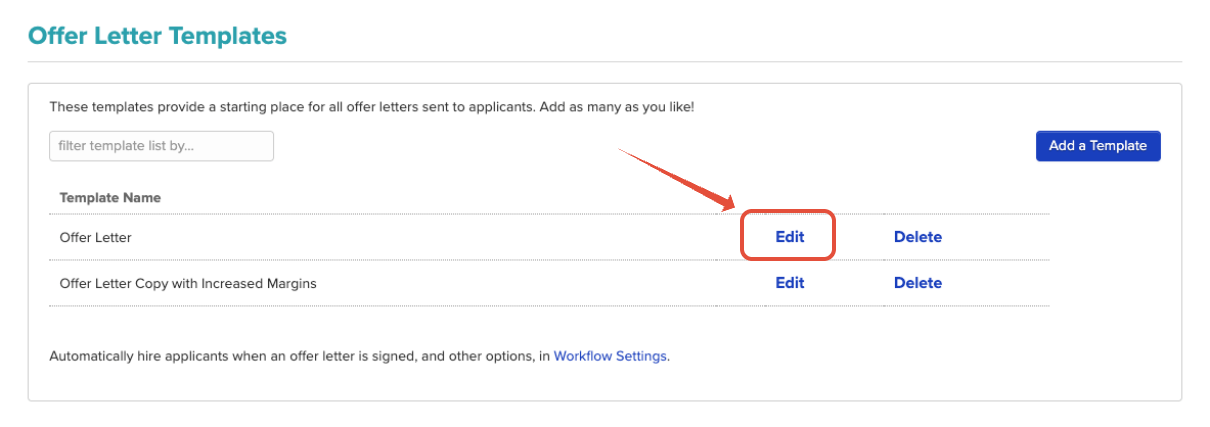
In the same Templates section, locate the existing offer letter you want to use as a base
Click Copy
Make your edits
Save it with a new name
Step 3: Use Merge Fields (a.k.a. Magic Tags)
Templates use special fields that auto-fill info from the applicant or job details. These fields must be used exactly as shown:
Standard fields available on all accounts:
{{ salutation }}{{ job_title }}{{ company }}{{ salary }}{{ start_date }}{{ location }}{{ supervisor }}{{ job_description }}
You’ll find these listed on the right side of the template editor. If you’ve added custom fields to your jobs or applications, those will appear there too, ready for use.
Note: The {{ job_description }} field is relatively new! It pulls in the job description exactly as written on the Create/Edit Job page.
Step 4: Configure Your Workflow
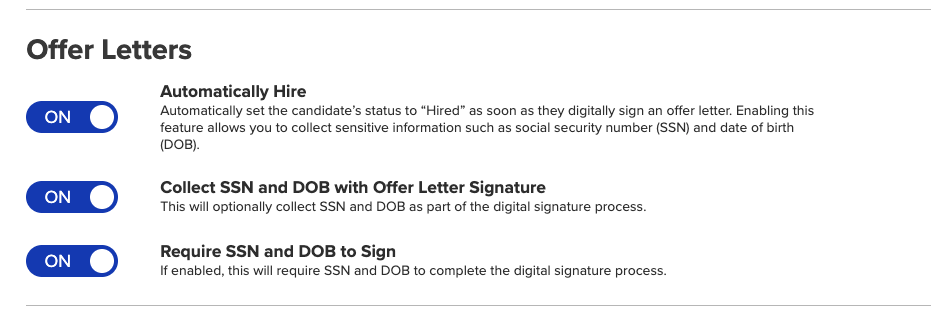
Want the system to automagically mark applicants as hired once they sign their offer letter?
Go to Workflow Settings
Enable the option to automatically hire applicants upon offer acceptance
You can also customize other offer-related actions here
Need a Hand?
And just like that, your offer letter templates are ready to go. If you have any questions or run into trouble along the way, our support team is just a click away—don’t hesitate to reach out!